Note
This article was written for a class assignment demonstrating the installation of WordPress on Docker using docker-compose. It is intended for educational purposes and may not reflect best practices for production environments. I promise I write about more interesting things usually.
Writeup
I worked this project on an Ubuntu VM, so all commands will be using the debian-based versions.
Before starting this project, I ran sudo apt update and sudo apt upgrade to make sure my system was up-to-date. I then installed the docker and docker-compose packages via sudo apt install docker.io and sudo apt install docker-compose, respectively.
Before installing WordPress, I first needed to choose a backend framework to host the data for it. I chose MariaDB, an open source DBMS that is compatible with MySQL.
I then created a docker-compose.yml file for the docker image, with the following contents:
wordpress:
  image: wordpress
  links:
    - mariadb:mysql
  environment:
    - WORDPRESS_DB_PASSWORD=password123
    - WORDPRESS_DB_USER=root
  ports:
    - "127.0.0.1:80:80"
  volumes:
    - ./html:/var/www/html
mariadb:
  image: mariadb
  environment:
    - MYSQL_ROOT_PASSWORD=password123
    - MYSQL_DATABASE=wordpress
  volumes:
    - ./database:/var/lib/mysql
Proper password security was slightly less of a priority for me, as this will only be running locally within a VM that is not usually on.
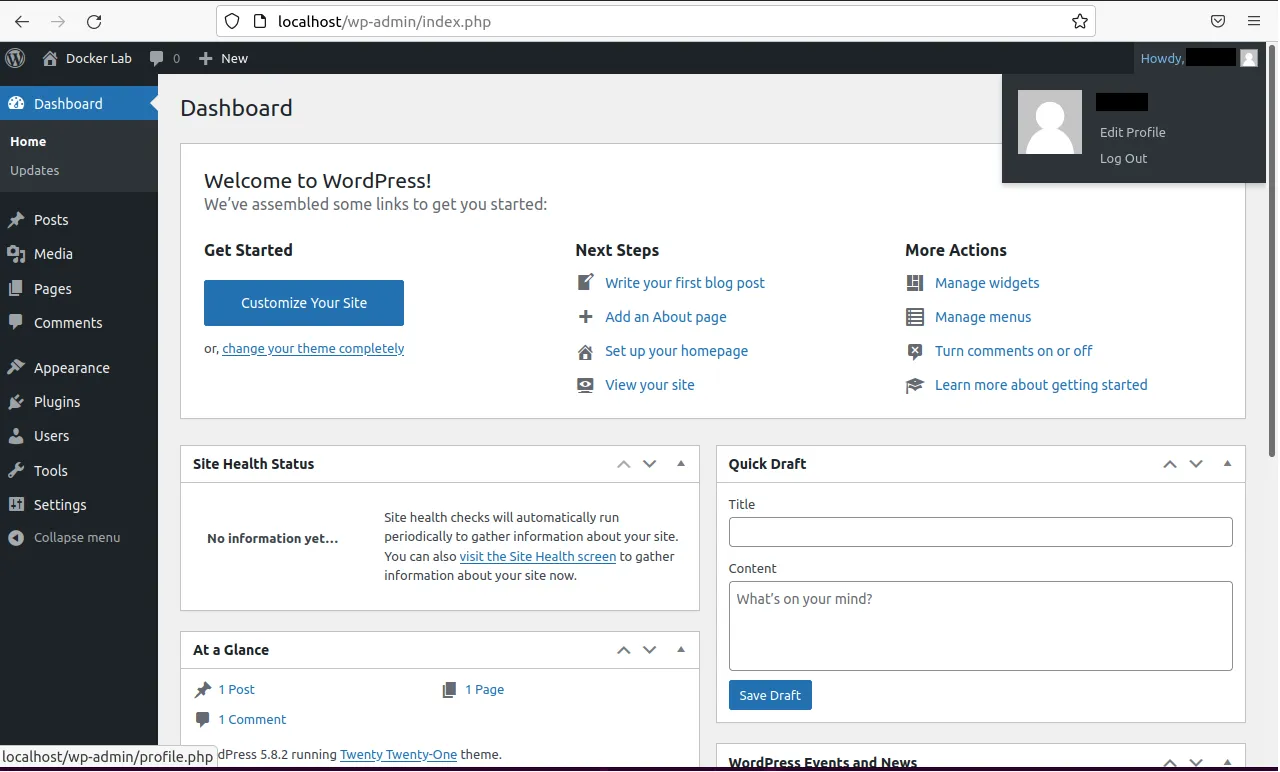
I then ran sudo docker-compose up -d, which read the docker-compose.yml file and installed and instantiated the necessary docker packages. After they had finish installing, I navigated to http://localhost:80, where I found the WordPress admin login. I created an admin account with the username tcs6365, and was then able to log in successfully, as seen in the following screenshot:
